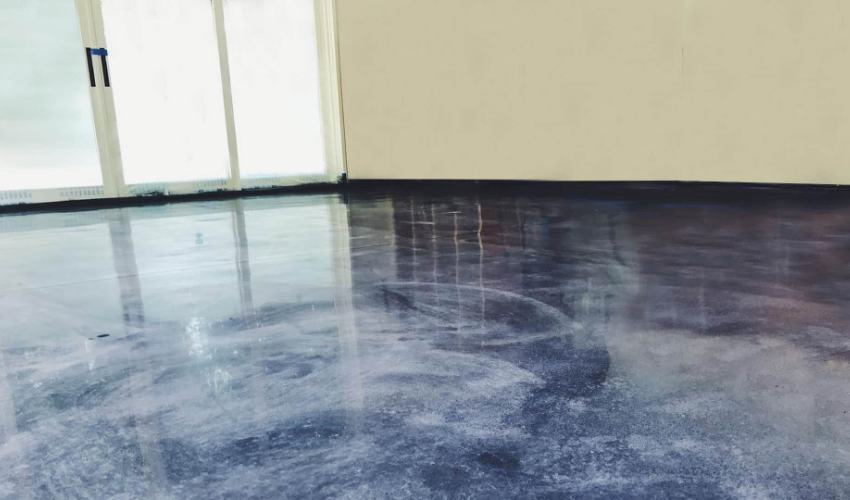
Epoxy is an excellent option for protecting your garage floor and may save you time and money. If you’re considering doing any repairs on your garage floor yourself, you’ll get valuable insight from reading this.
This article is the Guide About Applying Epoxy Flooring For Garage, with step-by-step instructions and tips. Epoxy Floor is a superior material that can be applied in garages, workshops, commercial premises, and many other locations.
Why Choose Epoxy Flooring?
Epoxy floors are a popular choice for both industrial and commercial settings because they are tough and easy to clean. Epoxy floors are also becoming popular in residential homes because they are attractive and low-maintenance.
Epoxy resin and a hardener are combined to create epoxy tiles flooring. The mixture is then spread over the floor and allowed to cure. Once cured, epoxy good flooring is extremely tough and durable. Epoxy floors can be made in any color or design, making them very versatile.
If you are considering epoxy floor for your home or business, you should know a few things:
- Epoxy floors must be installed by a professional.
- Epoxy floors require minimal maintenance and are easy to clean epoxy.
- Epoxy floors can be slippery when wet, so it is essential to choose a non-slip finish if safety is a concern.
What Tools Do You Need to do Epoxy Flooring?
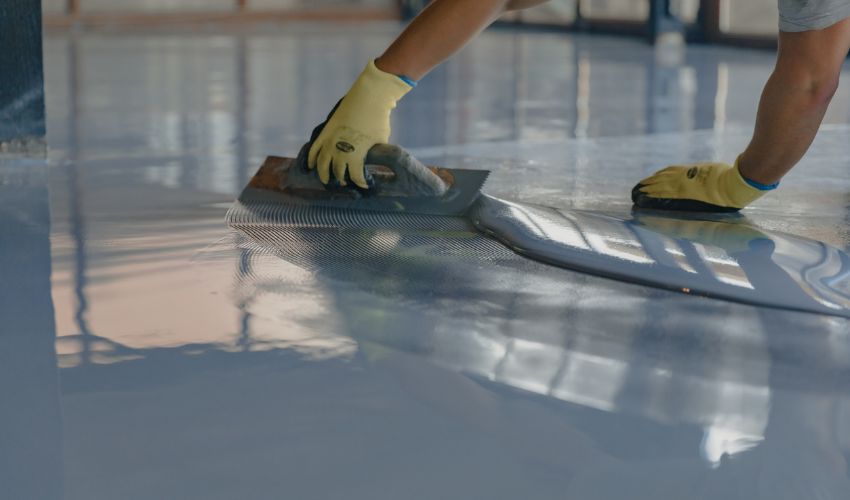
To do epoxy floor, you will need the following tools:
- A power drill
- A paint mixer attachment for your power drill
- An epoxy resin kit that includes a base coat and top coat
- A paint roller and extension handle
- A ¼ inch nap paint roller cover
- A 2-inch paintbrush
- Masking tape
- Painter’s plastic drop cloths
- Sandpaper (120, 220, 400 grit)
- A shop vacuum
- A utility knife
How to Prepare a Garage for Epoxy?
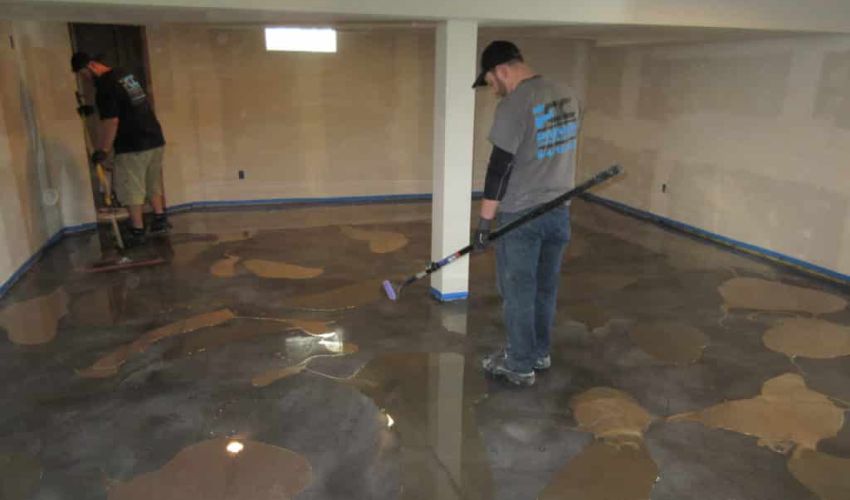
Preparing your garage for epoxy floor is critical in ensuring that your new floor will look its best and last for years. Here are some tips on how to prepare your garage for epoxy floor:
Start by giving your garage a good cleaning. Sweep and mop the floors, and remove any oil stains or stubborn dirt.
- Repair any cracks or damaged areas in your concrete before applying the epoxy.
- Once your garage is clean and repaired, it’s time to etch the concrete. This will create a rough surface for the epoxy to adhere to.
- Now, you’re ready to apply the epoxy floor coating. Follow the instructions on the product carefully, and be sure to use enough coats to achieve the desired thickness.
- Finally, let the epoxy cure according to the manufacturer’s instructions before using your garage again.
Steps Involved in Epoxy Floor Installation
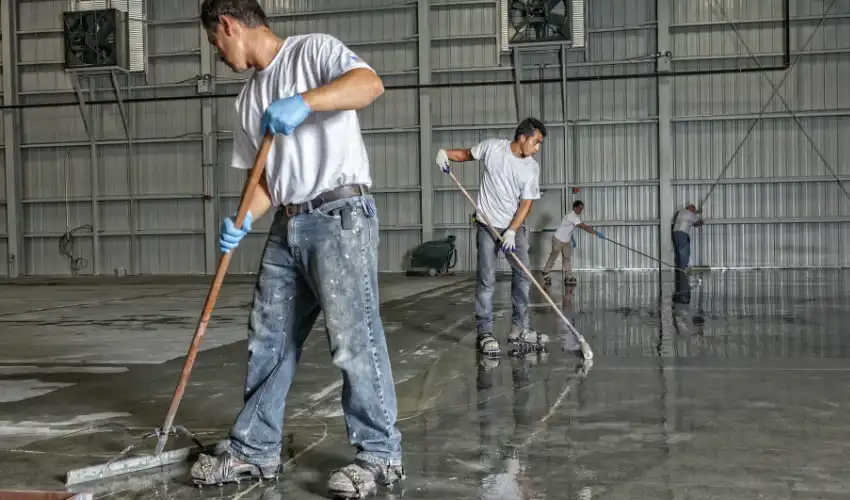
This flooring is an excellent option for those needing a durable and long-lasting surface, especially those with large garages that see a lot of traffic. On top of that, epoxy is slip-resistant, meaning it’s safe for people to walk on even when wet. There are a few steps involved in epoxy floor, As the procedure is relatively simple and can be completed by anyone.
- The garage floor must be carefully cleaned as a first step. This includes sweeping, vacuuming, and mopping the floor to remove all dirt, dust, and debris. The next step is to etch the floor with an acid solution, creating a rougher surface for the epoxy to adhere to.
- The epoxy resin and hardener must then be combined. This can be done by following the instructions on the epoxy kit. Once mixed, the epoxy should be applied evenly to the garage floor using a roller or brush. It is essential to work quickly because epoxy starts to set up fast.
- After the epoxy has been applied, it should cure for at least 24 hours before walking on it or parking cars on it. Once fixed, the epoxy floor will be tough, durable, and withstand heavy traffic and wear.
What Is The Cost Of Epoxy Tiles Flooring?
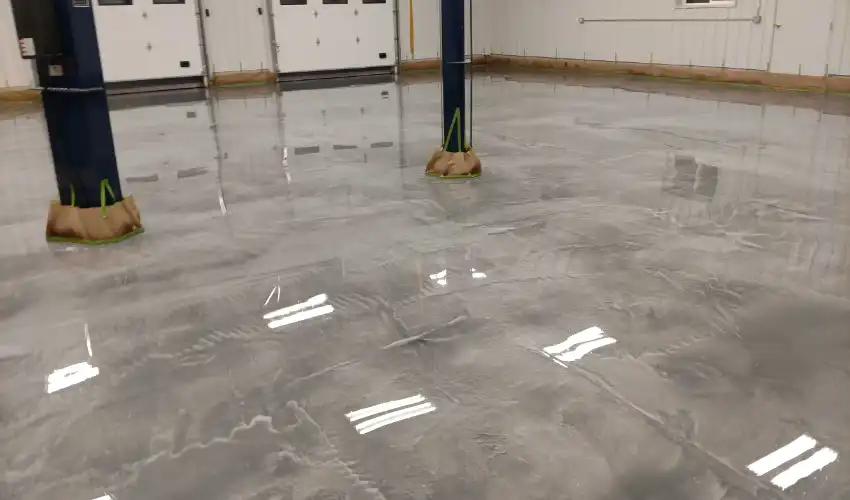
This floor is one of the favorite options for garage floors since it is long-lasting, simple to maintain, and can give your garage a luxurious appearance. However, how much does epoxy floor cost?
This flooring costs vary based on the size of your garage, the kind of epoxy you choose, and whether you install it yourself or employ a professional. DIY epoxy kits typically cost between $50 and $100 per square foot. If you hire a professional to build your epoxy floor, the price per square foot will be between $3 and $5.
Consider the time and effort needed to properly prepare your garage floor for an epoxy coating when determining whether to do it yourself or hire a professional flooring installation. If you need more time or patience to perform anything properly, it is preferable to leave it to the experts.
How Long Does An Epoxy Floor Last?
An epoxy floor can last for many years if it is properly maintained. However, like all floors, it will eventually need to be replaced. Still, its lifespan can be affected due to continuous vigorous traffic, and its life span can decrease due to constant use. An epoxy floor can last for several years with proper care and maintenance.
Why Choose Epoxy Floor In the Garage?

Epoxy flooring is the only choice for garage floors because this flooring is much more solid, durable, and beautiful than concrete. Most rich people find these floors amazing and usually use them because they are durable and easy to maintain. Epoxy floors are also slip-resistant and resist staining, making them ideal for high-traffic areas like garages.
When choosing an epoxy floor coating for your garage, selecting a product designed for use in garages is essential. Not all epoxy products are created equal, and some may not be suitable for use in areas where vehicles are regularly parked.
Garage Floor Coating is the only easy and lucky option for you because you are making a good choice if you choose this to-apply and long-lasting solution to your garage flooring needs. This product can be applied in a single day and will provide years of protection against wear and tear.
In The END!
Read our full guide to applying epoxy flooring to your garage, you have come to the right place! Epoxy floor is an excellent choice for many reasons. It is easy to use, durable, and has a high gloss finish that will last many years.


